Locate the Puncture:
Identify the puncture in the tire. Look and listen for the hissing sound of escaping air.
Remove the Object (if applicable):
If there is an object stuck in the tire (such as a nail or screw), carefully remove it.
Deflate the Tire:
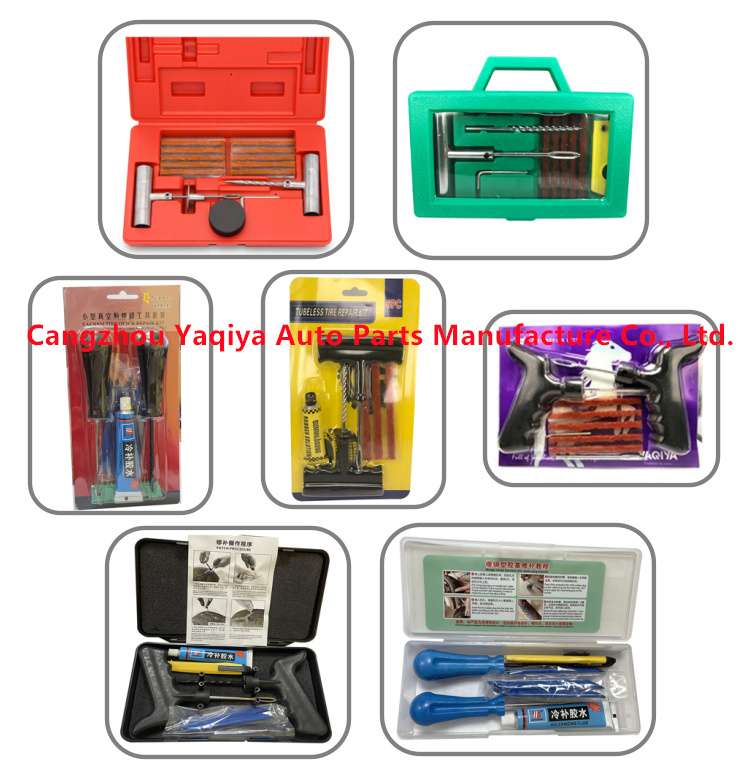
Use the tool provided in the kit to fully deflate the tire.
Ream the Puncture Hole:
Use the reaming tool (usually included in the kit) to clean and enlarge the puncture hole. This helps create a clean surface for the repair.
Insert the Repair Plug:
Take a repair plug (a sticky, rubberized strip) and thread it through the eye of the needle tool included in the kit.
Apply rubber cement or adhesive to the plug.
Insert the needle tool with the plug into the puncture hole, leaving a portion of the plug outside the tire.
Pull the needle tool out, leaving the plug inside the tire.
Trim Excess Plug:
Trim any excess plug material that is sticking out of the tire.
Inflate the Tire:
Use a tire inflator or an air compressor to reinflate the tire to the recommended pressure.
Check for Leaks:
Apply a soapy water solution to the repaired area and check for bubbles. If bubbles appear, there may be a leak, and you need to repeat the repair process.
Monitor Tire Pressure:
Keep an eye on the tire pressure over the next few days to ensure that the repair is holding.
Remember, a tire repair kit is a temporary solution, and it's essential to replace or professionally repair the tire as soon as possible. Additionally, not all tire damage can be repaired with a kit, especially if the sidewall is damaged. If you are unsure or uncomfortable with the process, it's best to seek professional help.


